
How to Stop Tire Squeaking? Maintenance and Lubrication Routine

How to Stop Tire Squeaking? Maintenance and Lubrication Routine
The squeaking sound is often perceived as a "minor annoyance" in most businesses; however, it's actually an early warning sign that the mechanical system is generating friction and smoothness is beginning to deteriorate. Equally important are the conditions under which the sound arises: Did it start in a high-dust warehouse, increase in a humid environment, become more pronounced after cleaning chemicals, or did it appear immediately after new assembly? Answering these questions quickly narrows down the root cause of the squeaking sound.
In Burak Teker's approach, the squeaking problem cannot be solved with a simple "oil it frequently" reflex. Because incorrect lubrication traps dirt and dust faster, temporarily reducing the noise but bringing it back even louder. A permanent solution is established through the correct cleaning sequence, accurate inspection points, and maintenance periods tailored to the specific scenario. This guide is designed to provide a clear maintenance standard for field workers.
Where Does the Squeaking Sound Come From? 4 Typical Sources
1) Swivel mechanism contact surface
One of the most common sources of wear and tear is the metal-to-metal contact surfaces of the rotating mechanism. When dirt and moisture accumulate in this area, friction increases, rotation is delayed, and a squeaking sound occurs. This area can wear out faster if frequent maneuvering is performed in confined spaces.
2) Axle line and hub area
Hair, lint, and dust accumulate along the axis, increasing friction in the hub area. This friction initially starts as a "slight squeaking" sound, becoming more pronounced over time. Accumulation is particularly rapid in environments where carpets/rugs are used.
3) Bearing (ball or bushing) contamination
Dust and moisture entering the bearing can cause the lubricant to thicken into a paste. This reduces fluidity and creates micro-friction noises during rotation. Contamination occurs more rapidly if the sealing level is low.
4) Assembly looseness and angle distortion
If the connection is loose, the system will oscillate slightly. This oscillation can cause metal to rub against metal, resulting in creaking-like noises. Furthermore, when the angle is disrupted, the lateral load increases; as the lateral load increases, the mechanism is subjected to more stress, and the noise intensifies.
Rapid Diagnosis: Finding the Source in 60 Seconds
The quickest way to permanently eliminate squeaking noises is to accurately identify the source. The following test sequence provides the most practical way to differentiate between the two in the field.
Test 1 - Idle spin
Lift the equipment safely. Rotate the moving surface by hand. If the sound occurs here, you need to look for the axle, hub, or bearing line.
Test 2 - Swivel turn test
Rotate the swivel mechanism from side to side. If the sound increases with this movement, the source is most likely the swivel contact surface.
Test 3 - Assembly tightness check
Check the connection points. If there's any play, some of the noise might be coming from looseness. Loose fitting doesn't just produce noise; it also accelerates wear and tear. 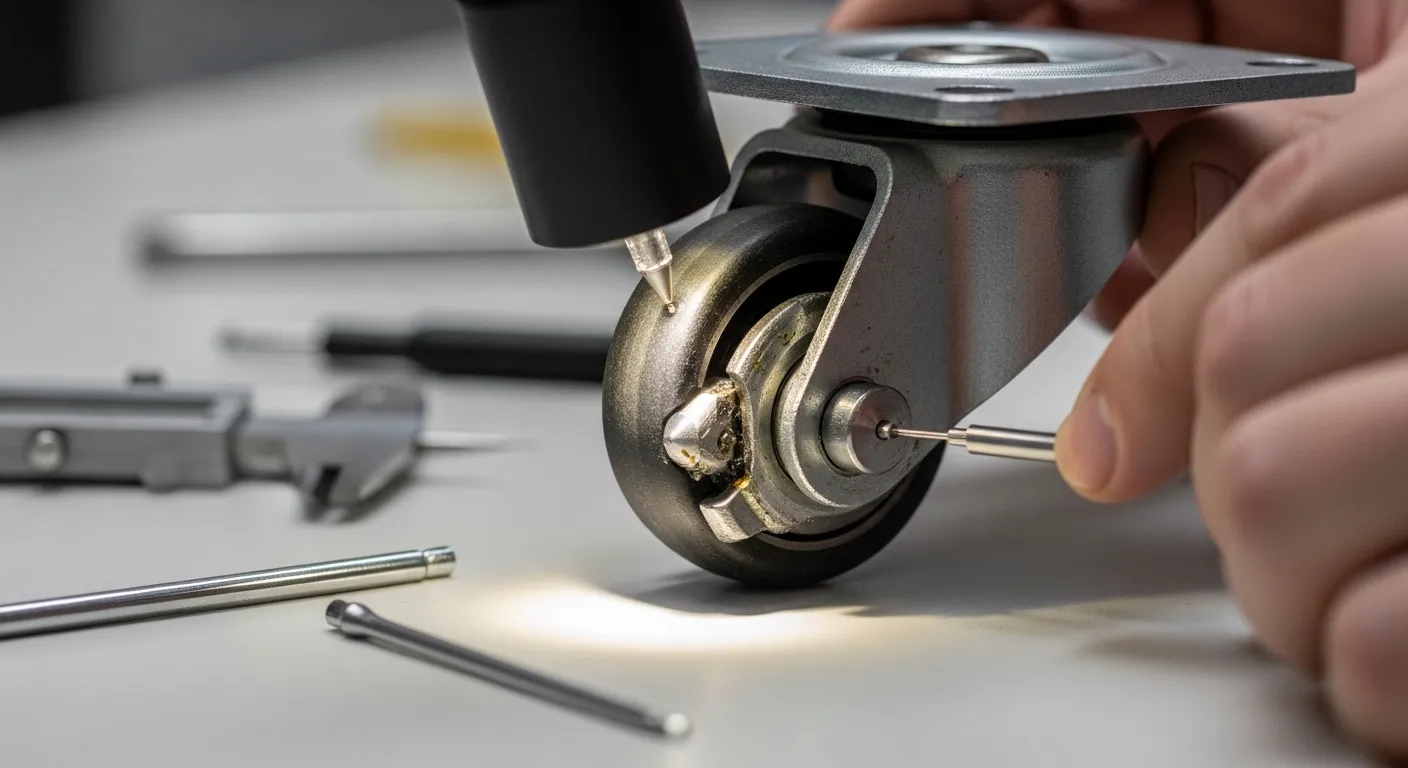
The order of permanent solution: Cleaning first, then lubrication.
Most squeaking problems recur because lubrication is applied without prior cleaning. The basic rule here is clear: lubrication without removing dirt provides short-term relief, but quickly attracts more dirt, increasing friction.
Step 1 - Dry cleaning
First, dry clean the exterior surface and the area around the mechanism. Use a brush to remove dust and any accumulated hair and thread around the axle. Dry cleaning prevents dirt from being pushed inside.
Step 2 - Mechanical dirt removal
Dirt accumulating in the swivel area and around the hub can form a friction-producing layer. Clean these areas specifically. The fine layer of dirt around the rotating mechanism, in particular, can be a major trigger for squeaking noises.
Step 3 - Check and test
After cleaning, repeat the idle and swivel rotation tests. If the noise has significantly decreased, the problem is most likely dirt-related, and minimal lubrication may be sufficient.
Step 4 - Minimal and targeted lubrication
Instead of applying oil excessively, apply it controllably to the point of friction. Too much oil traps dust faster, quickly producing squeaking again. The goal is not to "wet" the surface, but to stabilize it with a thin film layer.
Incorrect Lubrication Mistakes: 5 Reflexes That Worsen the Problem
1) Lubricating without cleaning
2) Using too much oil
3) Apply the oil randomly to every spot.
4) Using chemical cleaner and oil at the same time
5) Trying to loosen a loose assembly with oil
Maintenance Period: Establishing the Standard Before Sound Returns
Lasting results come from proper interval maintenance rather than a one-off intervention. Maintenance intervals should be shorter in dusty warehouses. In relatively clean areas like offices and showrooms, the interval can be extended. In humid and frequently washed areas, the level of sealing and chemical compatibility become critical. The goal here is not to rush in after squeaking occurs, but to maintain stable fluidity before it happens.
Burak Teker's Approach: Reducing the Cost Behind Sound
A squeaking sound isn't just a "noise" in itself. It signals increased friction, greater operator strain, higher slippage, and shorter mechanical life. With accurate diagnosis, the correct cleaning sequence, and a minimal-targeted lubrication routine, the sound is permanently eliminated; more importantly, the system provides stable performance for longer. Burak Teker's standard is that maintenance is performed not randomly, but with a measured and scenario-appropriate routine.
Squeaking Is Not a "Single Sound": Root Cause Reading According to Sound Type
The most common mistake in the field is lumping every sound into the same category. However, if the squeaking sound varies in tone, interval, and the movement in which it occurs, then the root cause also changes. This section "identifies" the sound, thus speeding up the correct intervention.
A faint, continuous friction sound.
This is generally associated with a buildup of dirt or a paste-like consistency of the lubricant inside the bearing. It is audible continuously during operation and often becomes more pronounced as the load increases. In this scenario, lubrication alone will not solve the problem without first performing dry cleaning followed by targeted dirt removal.
Intermittent creaking that increases with rotation.
This mostly refers to the contact surface of the rotating mechanism. If it increases when maneuvering in a tight space, friction may be elevated in the swivel area. Cleaning this area and stabilizing it with a thin film of oil if necessary often provides quick results.
A sound mixed with clicking.
This type of noise is usually associated with loose assembly, connection tolerances, or axial misalignment. Lubrication may provide a "short-term silencing" effect, but since the mechanical problem persists, it will quickly lead to greater wear and tear. Assembly tightness and angle should be checked first.
A sharp sound that gives the feeling of metal touching metal.
This sound can be observed in scenarios where the oil has completely disappeared or the surface has worn away. If the sound is still sharp after cleaning, mechanical wear may have progressed. At this point, replacement rather than maintenance might be a more appropriate cost management option.
How do field conditions accelerate sound production?
Squeaking is often a result of "conditions of use." The same product might remain silent for months in a clean office, while it could produce noise in a few weeks in a dusty warehouse. Therefore, the maintenance plan should be designed in conjunction with the environment rather than just the product itself.
Dusty warehouses and workshops
Due to the high fine particle load, the rate at which dirt penetrates increases. In these environments, the goal is to take advantage of the sealing mechanism and increase the frequency of dry cleaning. Otherwise, oil quickly traps dust, forming a heavy layer.
Humid environments and washing areas
Moisture increases the risk of corrosion. Additionally, fine dirt carried by water can penetrate into the bearing. In this scenario, the maintenance routine should include a “drying and inspection” step. If chemical cleaning is performed, compliance becomes as critical as the choice itself.
Grooved ceramics and textured concrete
These surfaces generate micro-impacts. As the impact increases, mechanical wear accelerates and noise appears more quickly. In this scenario, increasing the diameter, establishing maneuverability, and providing extra capacity will delay the noise problem. 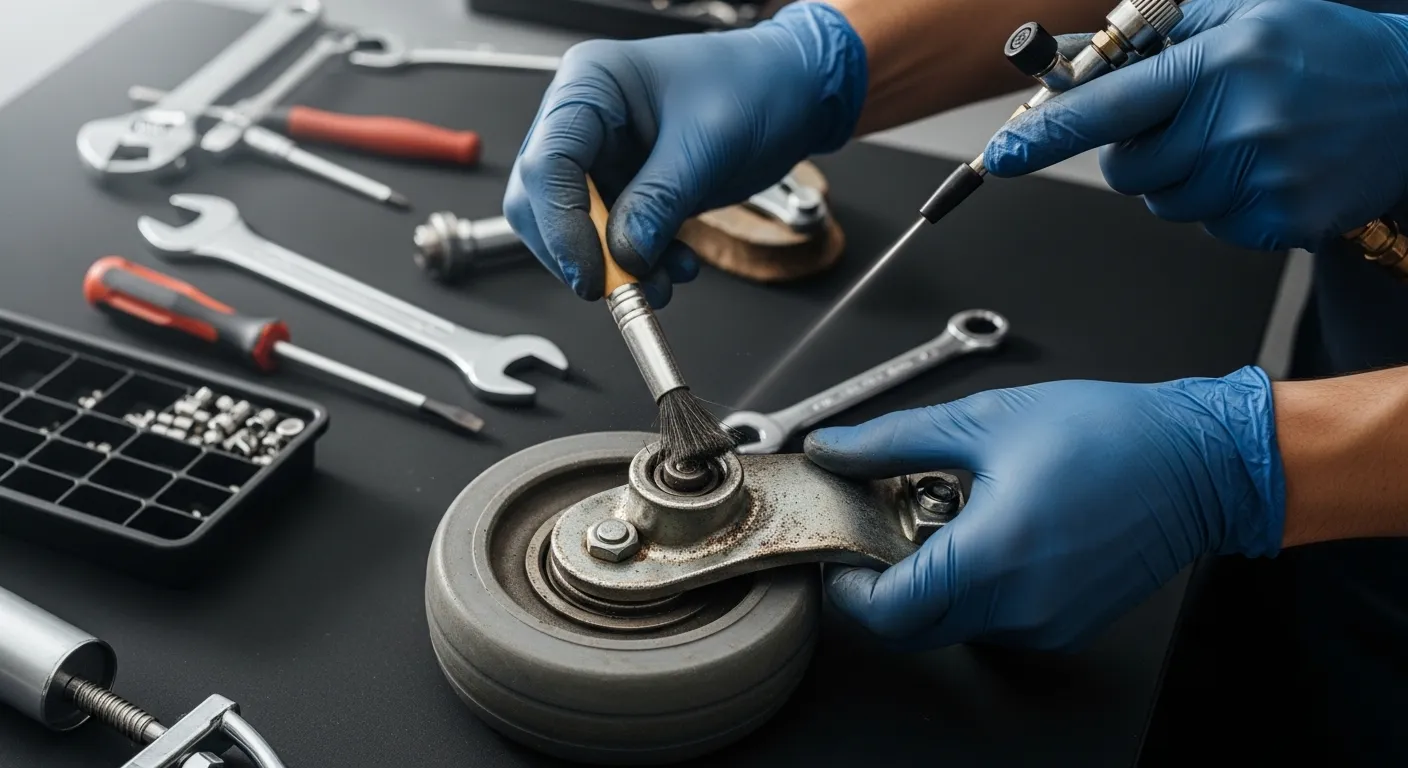
6 Checkpoints for Those Who Say, "I Cleaned It, But It Came Back"
If the squeaking sound returns despite cleaning, there are usually two possible causes: either the dirt hasn't been completely removed, or mechanical wear has begun. The following checklist will help clarify the cause of the recurrence.
1) Did the dirt discharge remain only on the outer surface?
The surface may appear clean, but a layer of dirt may remain inside. Cleaning without targeting the swivel area and the hub region will only temporarily suppress the problem.
2) Is there any unseen twisting in the axle line?
Hair/silk fibers may have accumulated behind the shaft. This accumulation will generate friction again after a while.
3) Was too much oil applied?
Excess oil attracts dust faster. In this case, a week of silence followed by squeaking again is typical.
4) Are there any micro-level adjustments during assembly?
Loose connections accelerate sound repetition. Silence after cleaning is short-lived because mechanical oscillation continues.
5) Is there an increase in lateral load?
Axial misalignment or chassis curvature subjects the mechanism to lateral load. As the lateral load increases, the sound repeats.
6) Do environmental conditions affect the maintenance interval?
In dusty or humid environments, dirt will re-accumulate if the maintenance interval is too long. In this case, the solution is to shorten the interval.
Scheduled Maintenance Routine: 3 Level Standard
Instead of always performing maintenance "the same way," planning it at three levels according to the environment and usage intensity yields better results.
Level 1 - Light use / clean environment
In areas such as offices and showrooms, regular dry cleaning of the exterior surfaces and around the rotating mechanisms may suffice. Performing a brief check before any noise occurs will help maintain stable performance.
Level 2 - Moderate use / seasonal powder
In environments such as stores and service areas, the cleaning interval is shortened. In addition to dry cleaning, a step to remove dirt around the center of the head should also be added.
Level 3 - Heavy use / high dust/humidity
Maintenance in warehouses, workshops, production areas, and washing facilities must be carried out in the most disciplined manner. Dry cleaning should be performed frequently, targeted dirt removal should be routine, and lubrication should be kept to a minimum. In addition, assembly tightness checks should be repeated at specific intervals.
When is the best time to renovate?
In some cases, maintenance "reduces the noise," but the root cause is mechanical wear and tear. In this scenario, continuous maintenance increases the total cost. Replacement may be a better decision if you have any of the following symptoms:
- If the sound returns shortly after cleaning
- If there is a metallic friction sensation even when spinning freely
- If sticking and delay become noticeable in the rotating mechanism
- If play and vibration are felt in the bearing
- If field conditions are harsh and the maintenance period cannot be sustained
Mini Application for Businesses: “Silent Walking” Control
A two-minute check before squeaking starts will stop the problem before it gets worse. Weekly surface warping checks, monthly swivel tests, and assembly tightness checks significantly reduce both noise and heaviness complaints. This routine also reduces operator strain, decreasing impact and slipping behavior.
Conclusion
When squeaking is heard in a system, it's not just an "unpleasant sound." Squeaking is a clear early warning sign indicating increased friction, decreased fluidity, and weakened maintenance discipline. Therefore, instead of resorting to random lubrication when squeaking occurs, it's necessary to correctly diagnose the source. Intervention without evaluating the swivel contact surface, axle line, bearing area, and mounting looseness in the same context may only temporarily suppress the squeaking sound, but it may return even more severely.
The permanent solution proceeds in the correct order: dry cleaning, targeted dirt removal, testing, and minimal lubrication only if needed. When this sequence is followed, squeaking is quickly brought under control in most scenarios. If squeaking recurs, the problem is usually due to one of two things: dirt has not been removed sufficiently, or mechanical wear has begun. At this stage, the correct decision is not continuous "silencing"; it is to optimize the maintenance period according to the scenario or to proceed with replacement if wear is evident. Burak Teker's standard is to address squeaking not as a one-off intervention, but as a sustainable maintenance routine tailored to field conditions.
FAQ
1) Where does the squeaking sound most often come from?
The most common source of squeaking is dirt buildup on the swivel contact surface and axle line. Accumulation of dust, lint, and fine particles increases friction, producing squeaking.
2) Why does lubrication worsen squeaking problems without cleaning first?
Lubrication without first removing the dirt traps dust more quickly and forms a paste-like layer. This layer temporarily reduces the squeaking problem, but it returns even faster.
3) How can I quickly identify the source of the squeaking sound?
If noise is heard during the idle speed test, focus on the axle, hub, or bearing line. If the noise increases during the rotation test, the swivel area may be the source of the squeaking. If there is micro-play, assembly inspection is necessary.
4) Is the creaking only a sound, or are there other risks involved?
Squeaking is often the result of increased friction. As friction increases, operator stress increases, sliding behavior intensifies, wear accelerates, and maintenance intervals shorten.
5) What does it mean if the squeaking sound briefly stops and returns after cleaning?
This scenario highlights two possibilities: dirt has been deposited on the surface, or mechanical wear has begun. Additionally, excessive lubrication can accelerate the return of squeaking.
6) What environments accelerate the squeaking problem?
Dusty warehouses and workshops, damp and frequently washed areas, and floors that produce micro-impacts, such as those with grouted ceramic and textured concrete, increase the risk of creaking. Maintenance periods should be more frequent in these areas.
7) When would it be more appropriate to renew?
If the squeaking returns shortly after cleaning and proper maintenance, if there is a metallic friction sensation when idling, or if the rotational behavior has become significantly sluggish, replacement may be a more cost-effective option.